Repair Procedure
Power Cord
Repair Procedure
Power Cord
Click on the small images on this page to see a higher-resolution version of the image. The larger image will open in a new window that can be closed after viewing
|
|
| 1 |
Begin by following these procedures:
Remove Fan
Remove Rear Cover
Remove Base
|
|
| 2 |
|
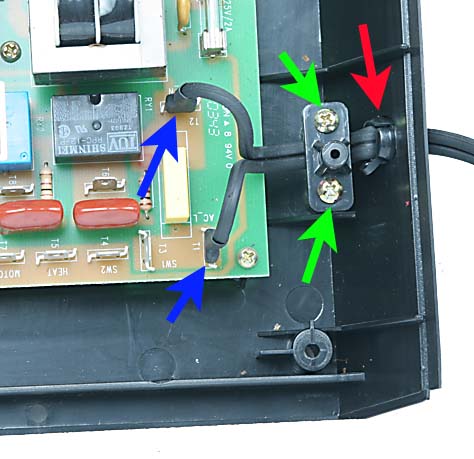
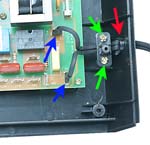
With the base removed, the power cord is very easily accessed. Use needle-nose pliers to remove the two connectors on the main circuit board (indicated by the blue arrows). Next. remove the two Phillips head screws (indicated by the green arrows) and remove the power cord retainer. Finally, remove the strain relief (red arrow). To do this, squeeze it with a pair of pliers from the inside of the base. Squeeze the top and bottom towards each other and push the retainer from the inside of the base towards the outside.
|
|
| 3 |
To install, run the new cord through the hole in the base. Attach the two connectors to the circuit board. leaving a bit of slack in the cord as shown in the picture, attach the retainer with the two Phillips head screws. Do not tighten yet. Press the retainer into place before tightening the screws. If the retainer is difficult to compress because the cord is stiff, leave the cord in the sun for a while before installing it. Working from the outside of the base, place the strain relief on the cord, press the two halves together with the pliers and snap into the hole in the case. Note that the hole is not round- there is a flat side that aligns with a flat on the strain relief device. be sure that there is enough slack inside so as not to strain the cord and tighten the two Phillips head screws.
|
|
To complete the process:
Replace Base
Replace Rear Cover
Replace Fan
|