Click on the small images on this page to see a higher-resolution version of the image. The larger image will open in a new window that can be closed after viewing
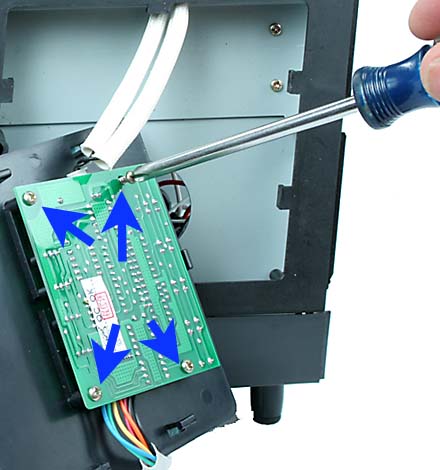
Once the control panel is removed from the Coffee Roaster, turn it over to access the inside of the panel. there you will see the Control Circuit Board. Remove the four Phillips Head screws and the panel can be easily removed from the circuit board.
2
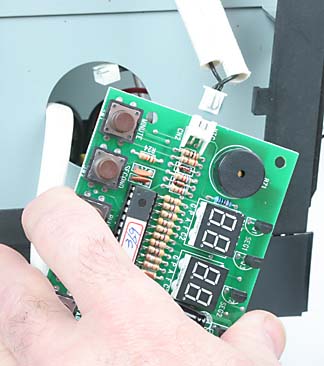
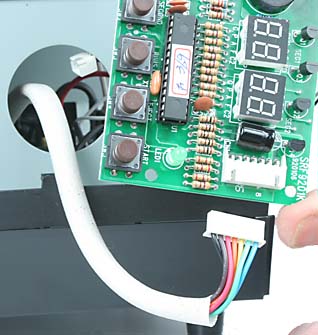
Turn the circuit board over and you will see the two cables connected to it. Remove them, one at a time. They are polarized and will only go back in oriented correctly. Take note of the orientation of the connectors when you remove them. The small connector is the thermal sensor...
3
...and the larger plug connects to the main circuit board.
4
Replacement is the reverse of removal. Plug the two cables in first, then screw the panel onto the board. The component side of the Control Board faces the backside of the control panel. Start all four screws first, then tighten them until snug. Do not over tighten the screws.