Repair Procedure
Installing the Drip Guard
Click on the small images on this page to see a higher-resolution version of the image. The larger image will open in a new window that can be closed after viewing

These instructions are designed to assist in installing the Solenoid Drip Guard on machines which did not have this part previously installed. This involves drilling and tapping holes.

1

If the Hottop Coffee Roaster was not originally equipped with the Solenoid Drip cover it might be necessary to drill and tap the holes to secure it. We do recommend installing this part as it has been shown to extend the life of the ejection solenoid.

These photos are designed to show how to place the Solenoid Drip Guard in the correct position before drilling and tapping holes. The red arrows indicate that location for the holes (screws already installed in this photo).

To locate the correct position for the holes, place the drip guard as seen in this photo, then temporarily place the drum motor onto the machine in its natural location. Loosely insert the Drum Motor's screws to hold the motor in its proper place.


2

At the front of the guard there should be a space and the guard's edge will be parallel to the Bean Ejection Chute as indicated by the turquoise colored arrow in this image.


3

The rear edge of the Solenoid Drip Guard will be parallel to the back of the Drum Motor and located just a little forward of the motor as indicated by the black line in this photo.


4

When placing the motor take note that there is a screw lug that protrudes under the motor. The groove in the drip guard is meant to give clearance for that lug. Looking under the Drum Motor you can see the screw lug as shown in this photo.

IMPORTANT: The drip guard must be positioned so that this lug is located in, but not pressing against the "trough" in the guard.


5

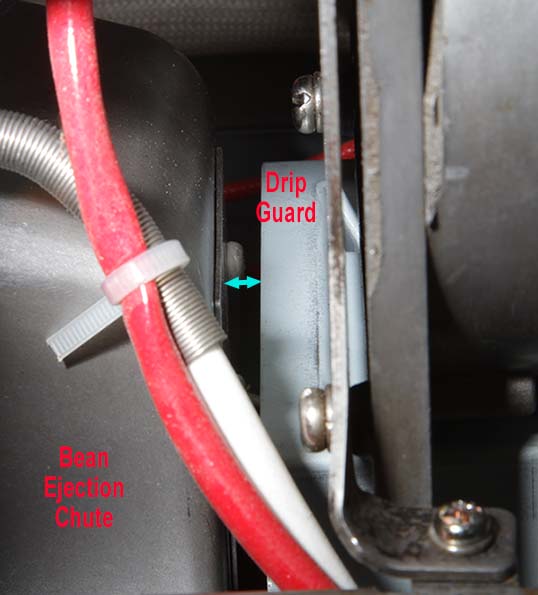
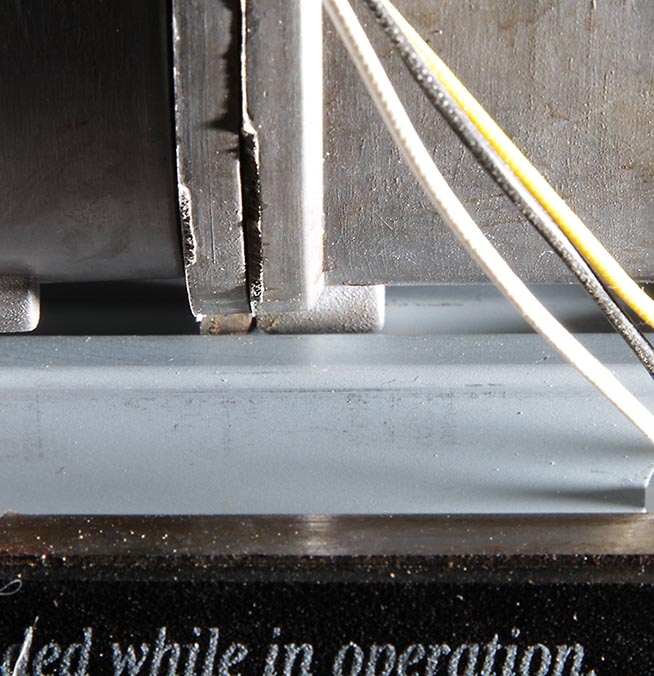
Here is the side view of that positioning described in the previous photo.

When you are satisfied with the placement, mark the desired location of the screw holes with a pen or marker. Use a #39 or 2.5mm drill bit and tap the hole with an M3 x .5mm tap. This is the size of all the small machine screw theads used on the Hottop.

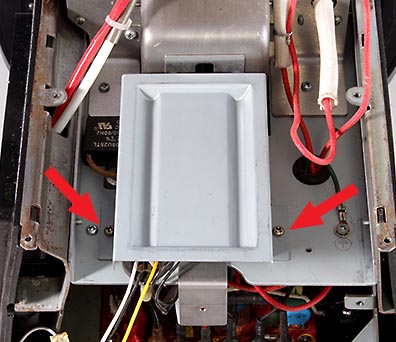
If the holes are there but the machine did not originally have this part, the hole to the left in the first photo (on the control panel side of the machine) may need a shorter screw because of the location of the side frame member. Washers can also be used to space out the screw so that it holds the try firmly without the screw "bottoming out." If you can see through the hole then the standard screw will work fine. If not, use a short screw.


Back to the REPAIR main page